
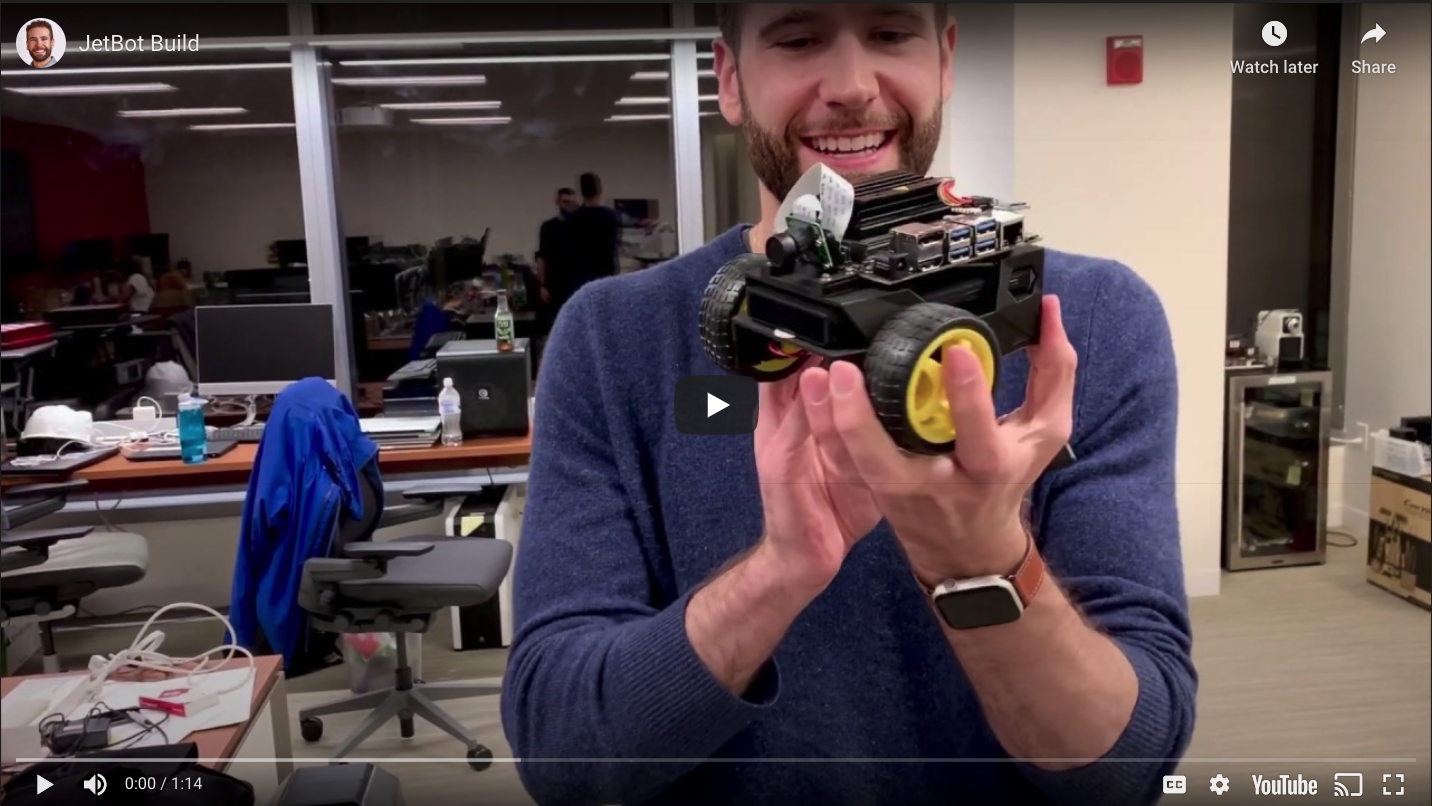
Building a JetBot
TLDR; I built a little JetBot equipped with deep learning based collision avoidance and object tracking systems.
A couple years ago, Nvidia released a smallish piece of hardware called the Jetson Nano, which is essentially a Raspberry Pi with a GPU onboard. At about the same time, Nvidia open-sourced a build specification for a little robot that they dubbed, the JetBot. At the time, one had to methodically go through the bill of materials and round up all the parts to build the thing from a number of different vendors. Now complete kits are readily available. So indeed, in mid-2019 I bought all the parts. And the parts sat there in their little bubble wrapped Amazon bags and Adafruit boxes for the better part of a year, reminding me that I really should do something with them, if I ever got the time. Sadly other projects took precendence and more importantly, I was missing two essential ingredients: a 3D printed chassis for the bot and a soldering iron.
Fast forward to early March, 2020 when I was still going into the office to work with my colleagues, a narrow window of opportunity presented itself between projects. I emailed my colleagues in Chicago for help with the 3D printing and soldering on a Sunday night, flew to Chicago with the goods Monday morning (as our team often does when COVID isn’t dominating the world), and had the bot assembled and driving around by Tuesday night. What a fun little hackathon we had!
Sara, who you will see showing me the 3D design files in the YouTube video above, is our resident 3D printing expert. She was thrilled to help out because we had just gotten a new toy at work - a MarkForged Mark Two 3D printer, fully equipped with a carbon fiber print head that prints composite parts as strong as aluminum. This was Sara’s maiden voyage with the Mark Two, and everyone was impressed with the smooth finish of the print job and strength of the result.
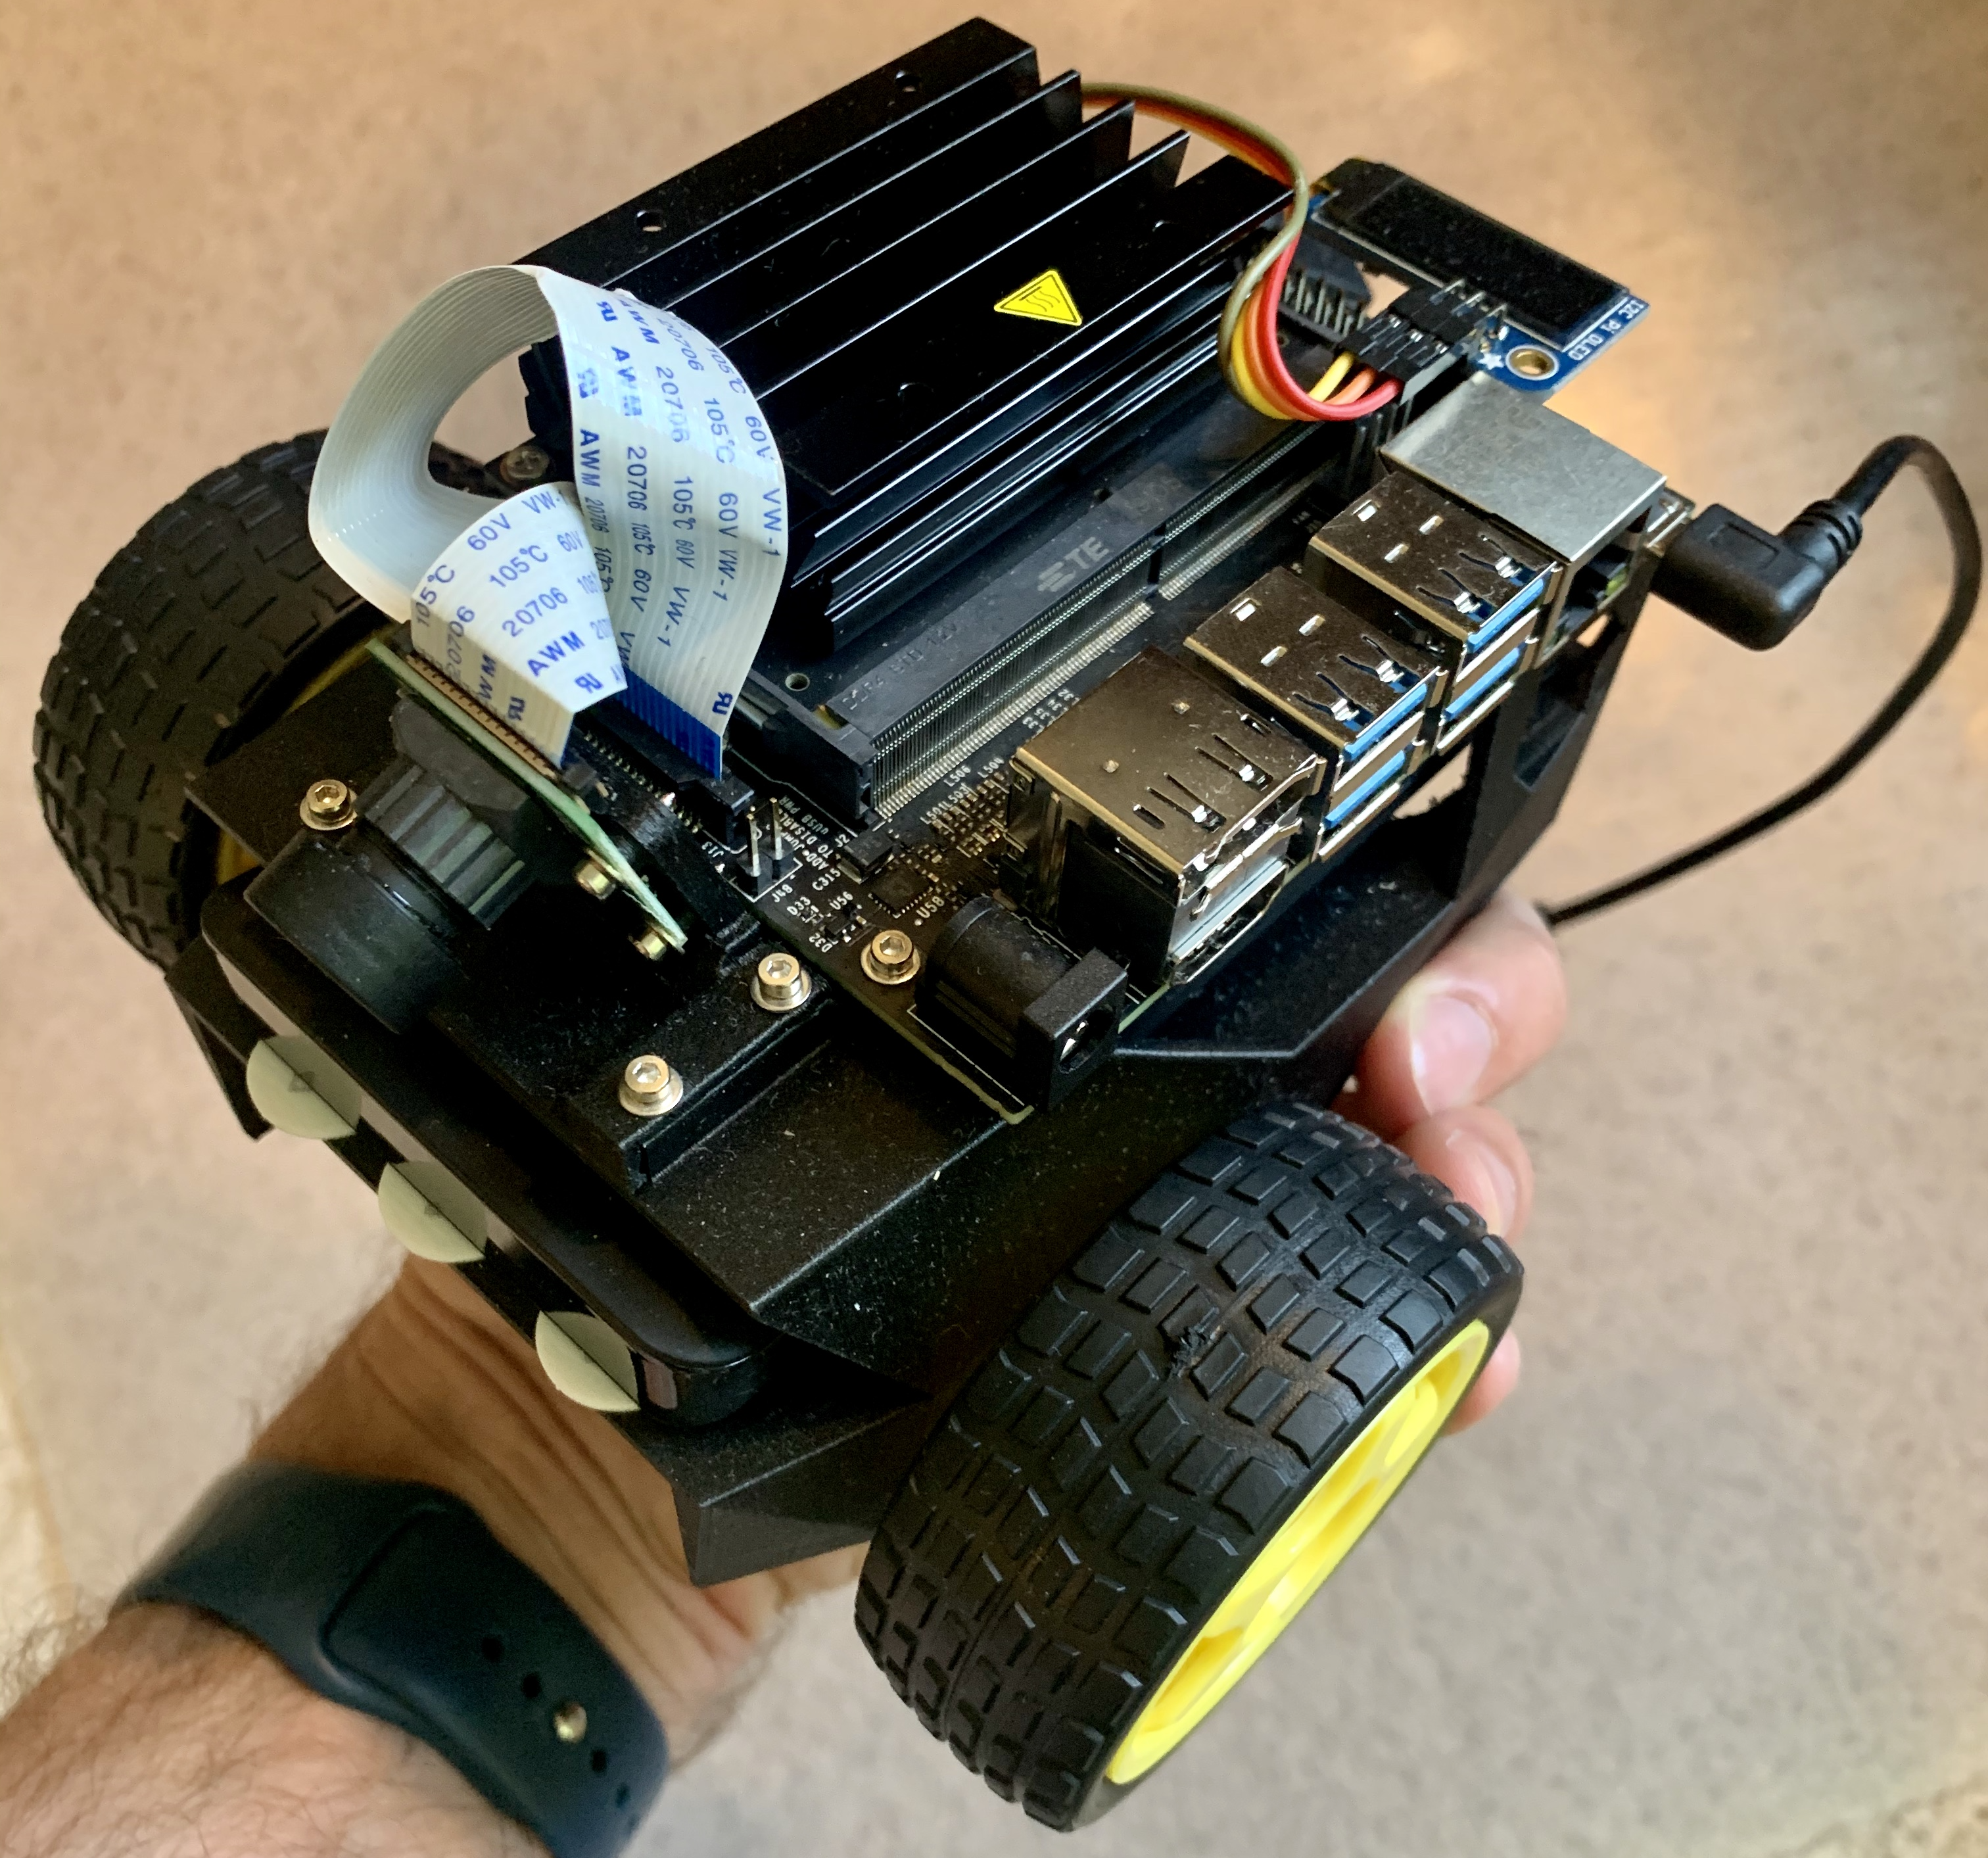
Next up was Sanika, who graciously helped me solder the electronics together, namely the wires to connect the LED screen that displays the IP address of the bot so that you can connect to it wirelessly. Sanika patiently showed me how to solder. I gave it a shot and maybe had 1 successful joint for every 5 that I attempted. Thankfully, she came back through and cleaned up my work.
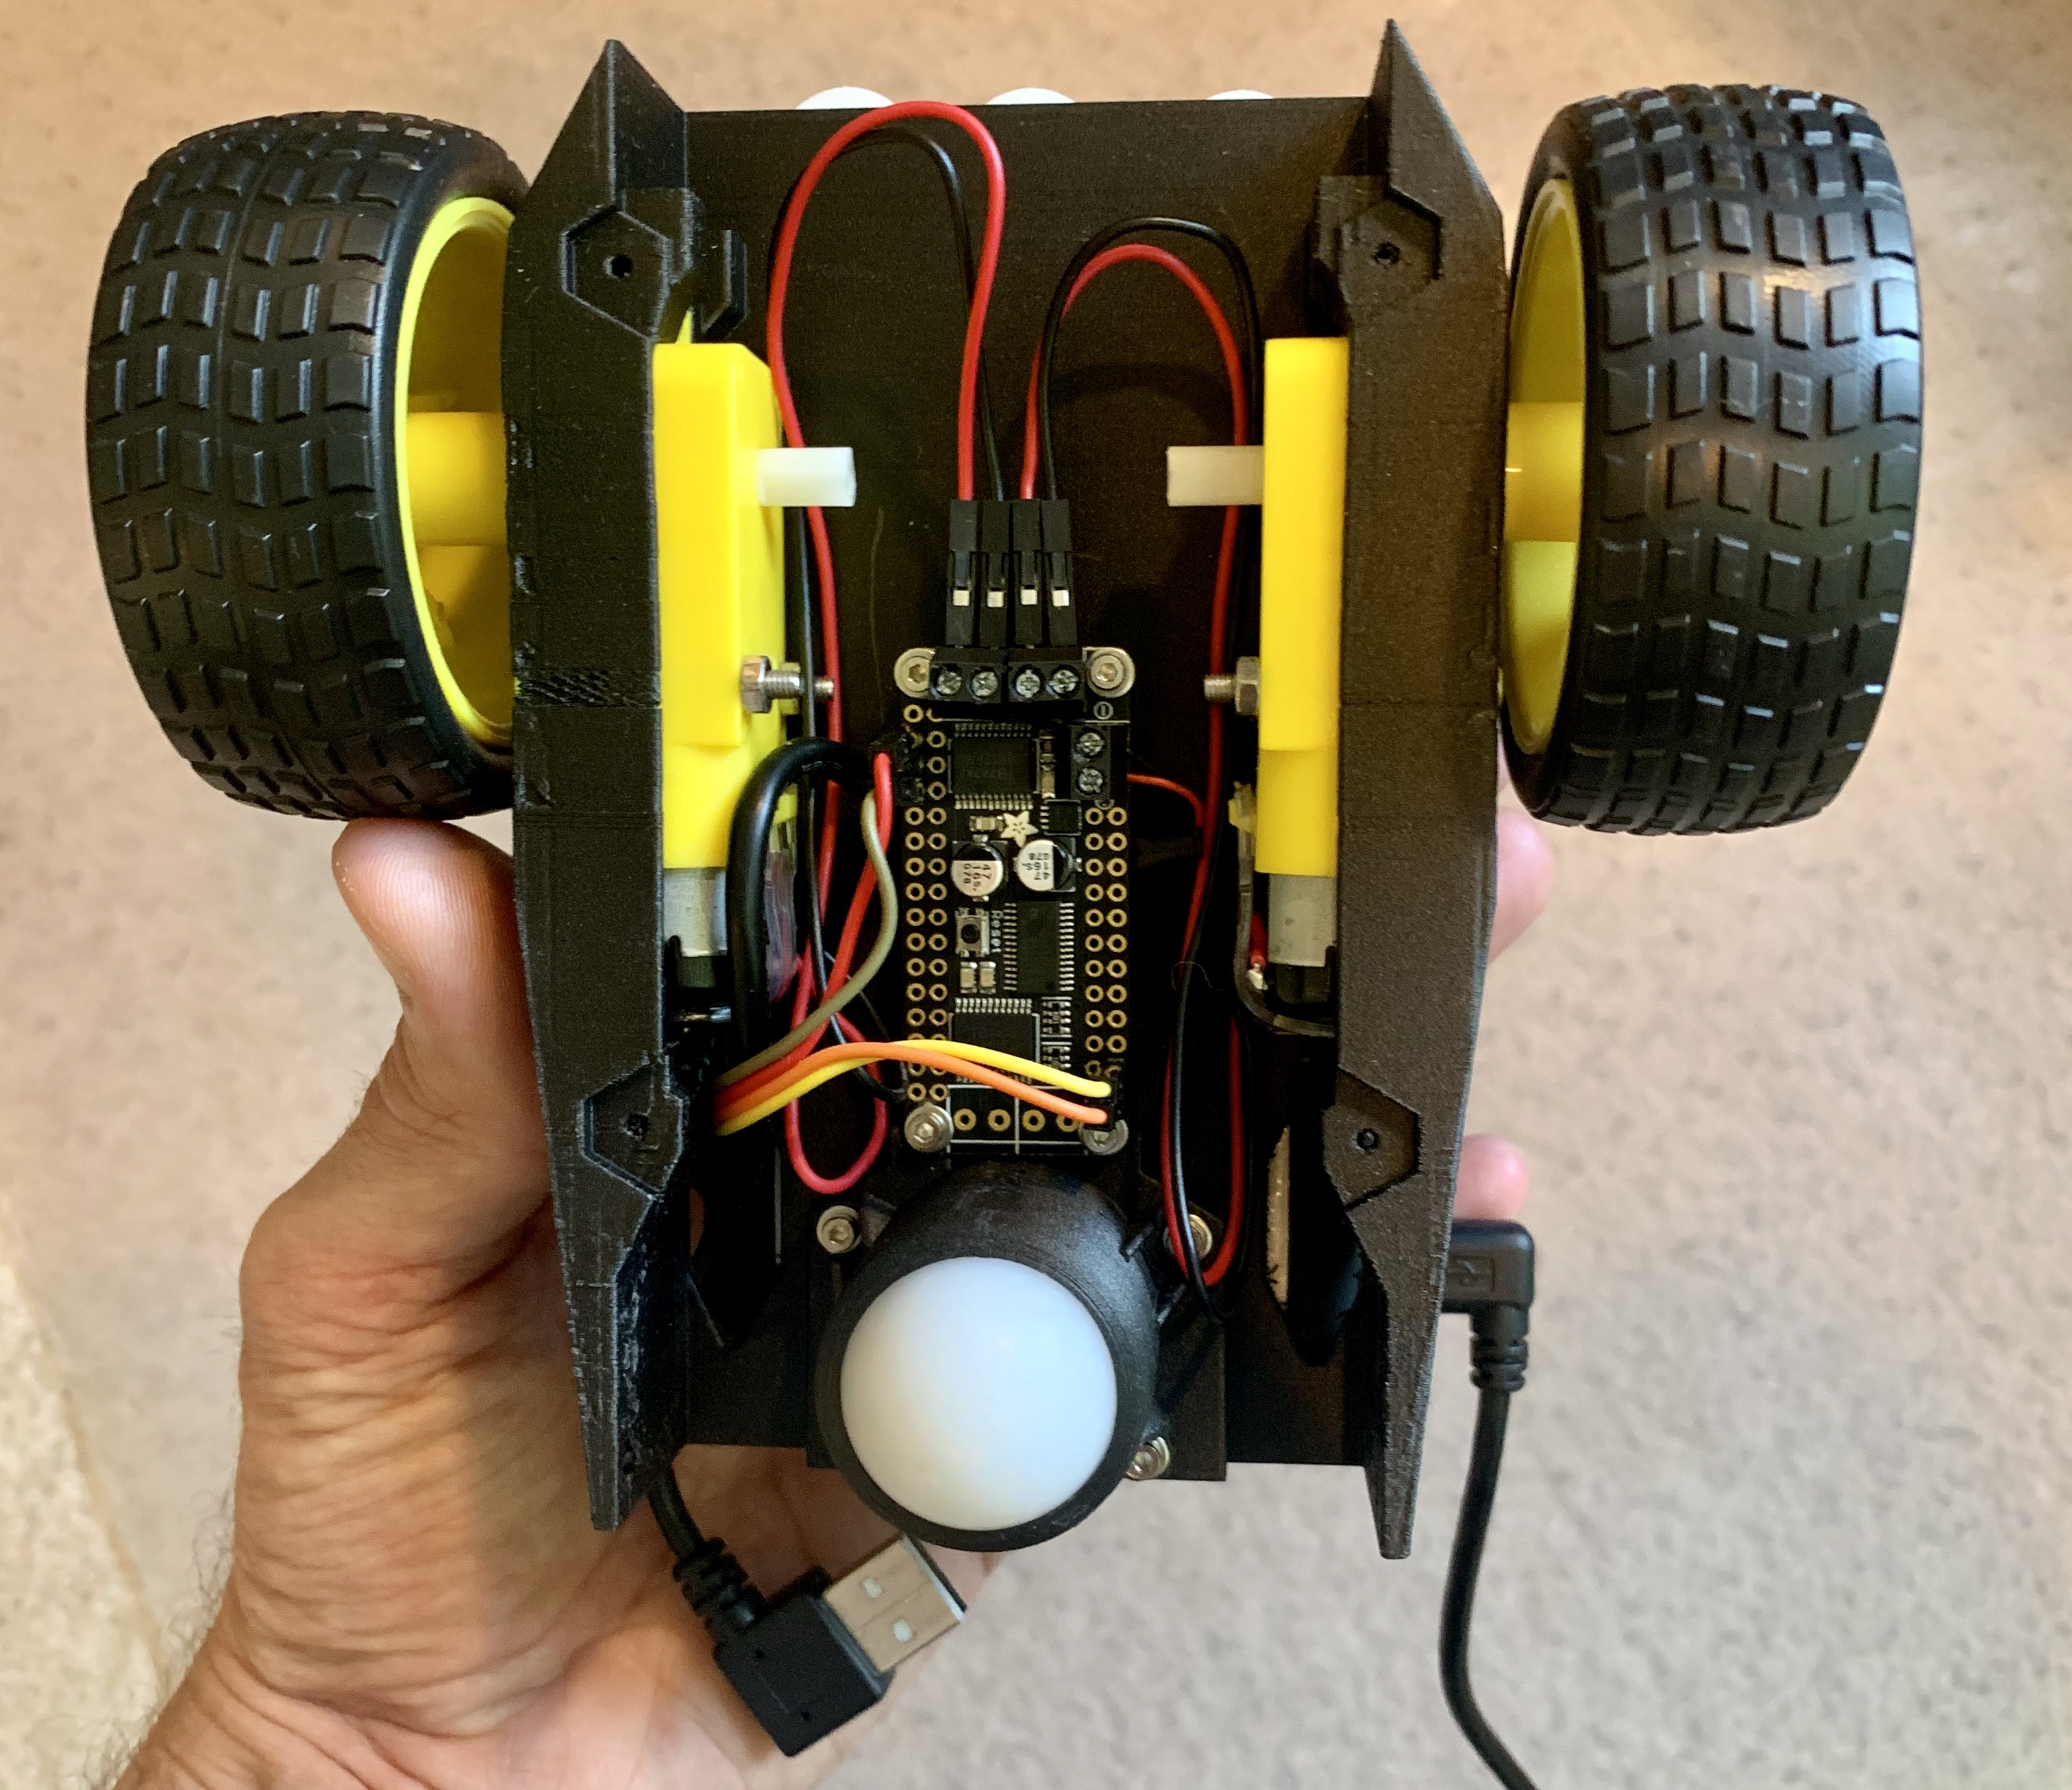
At this point, all that was left was assembly, which took a couple solid hours of quiet and attentive focus. You can see the light slowly fade outside and the sustenance (read popcorn, take-out, and cookies) appear in the video clip. The final moments of assembly were a little harrowing. By that point, I sorely needed a break and made the one mistake that was majorly warned against in the instructions by crossing some wires. And I quote, “Pay close attention! Reversing the red / brown wires could damage the system.” What do you think I did? Naturally, I reversed the red and brown wires. Luckily no damage was done and boy was I a happy hacker when I booted the bot up and it responded to my controls.
Then life happened again and I put the bot down for a couple weeks, at which point I got motivated to at least collect the data needed for the collision avoidance system. This is an autonomous bot after all, so it needs some way of avoiding objects that it’s about to collide with. I followed the instructions and took about 250 photos of good/bad situations for the bot (i.e. 125 photos for each class). It took me a couple attempts to get the data right. I kept labeling images as “OK” or “Safe” when the bot was about 1 bot length from colliding with something. This didn’t leave the bot enough clearance to turn and it ended up colliding with things. I found the sweet spot to be about 2 bot lengths from collision. After that, I was thoroughly impressed with the bot’s ability to navigate a room.
I trained a basic AlexNet model on my laptop. You can run inference on these little GPUs but training deep learning models still requires more memory and compute than you have on these little boards (at least you wouldn’t finish model training in a practical amount of time). The model is a binary classification model that’s being fed the video frames from the camera. I believe the frame rate is 30fps so that means the little GPU on the Jetson Nano board is making real-time predictions with a full-precision (i.e. 32-bit) model. It’s doing that while running on a portable battery that’s powering the board and the DC motors attached to the bot. That’s pretty impressive in my book.
Next up was object tracking. This relied on a pre-trained single-shot detector (SSD) based on the MobilenetV2 architecture trained on the COCO dataset. Nvidia did the hard work of converting the original Tensorflow model to their proprietary NVIDIA TensorRT model format. Converting to TensorRT does a few things, all in the spirit of reducing memory and CPU consumption.
-
TensorRT requires one to to convert Tensorflow variables to constants. “This makes it possible to describe the network fully with a single GraphDef file, and allows the removal of a lot of ops related to loading and saving the variables.” Long story short, this speeds things up and reduces memory consumption. This was a TF1.* concept and I don’t even know how this maps to TF2.*. Frankly, I’ve given up on TF for the time being given how many times the API has changed.
-
They quantized the model to half-precision (i.e. 16 bit float point weights) so that it will use less GPU memory and take advantage of low-level instructions that can execute floating point multiplications in fewer steps.
-
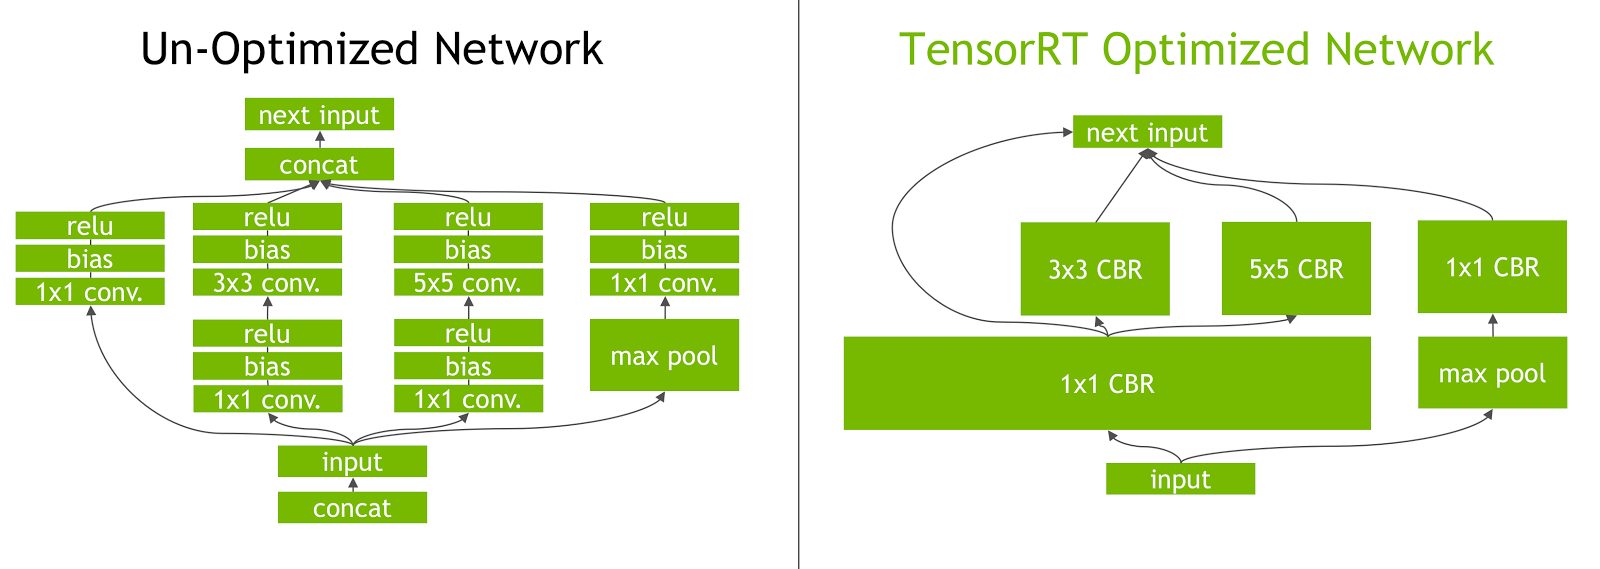
TensorRT conversion also makes a number of other optimizations such as vertical and horizontal fusion. With vertical fusion, where possible, convolution, bias, and ReLU layers are fused to form a single layer. Horizontal fusion improves performance by combining layers that take the same source tensor and apply the same operations with similar parameters.
It’s remarkable that we can now run deep learning models on edge devices. This is just scratching the surface of this world. If you’re interested in learning more, I’d recommend checking out Pete Warden’s blog. He’s always posting about the latest and greatest in the AI edge computing space.
What do you think? Leave a comment below.


Leave a comment